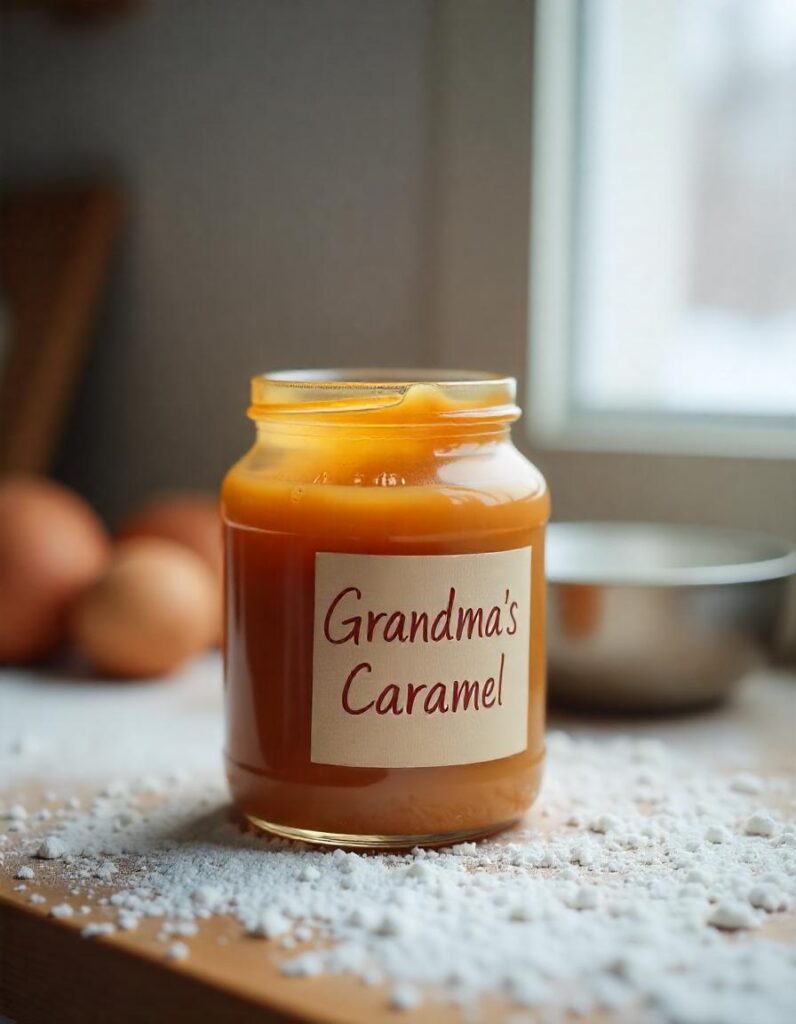
Who doesn’t love caramel? That rich, golden syrup that elevates everything from ice cream to cookies and cakes. But the real magic happens when you make it yourself fresh, warm, and smooth. Homemade caramel takes just a few simple ingredients, but it transforms into something amazing that store-bought versions just can’t match.
If you’ve ever tried making homemade caramel, you might have encountered a few hiccups. Don’t worry, it’s all part of the caramelization journey! In this guide, we’ll walk you through everything you need to know: the science behind caramelization, common mistakes and solutions, and how to make the perfect batch every time. So, grab your apron, and let’s dive into the sweet, sticky world of homemade caramel.
Table of Contents
What is Homemade Caramel?
Caramel is a magical transformation that happens when sugar is heated to the right temperature. It’s that beautiful amber-colored liquid that’s both rich and velvety. While caramel comes in many forms sauces, candies, and drizzles the most basic homemade caramel is made by melting sugar and then adding cream and butter.
Making caramel at home is like creating a flavor-packed piece of art. The beauty of it lies in the simplicity of the ingredients: sugar, butter, cream, and a pinch of salt if you’re feeling adventurous. When combined and cooked to perfection, they create a smooth, silky sauce that can be used in a multitude of ways.
Why Make Caramel at Home?
You might be asking, “Why bother making caramel at home when I can just buy it?” Well, there’s something special about homemade caramel that no store-bought version can replicate. First, you have control over the flavor and texture. Want it extra buttery? Add more butter. Prefer a richer, deeper taste? Let it cook a little longer.
Making caramel yourself is also an incredibly rewarding process. There’s something satisfying about watching sugar slowly turn from a clear liquid into that gorgeous, golden syrup. Plus, you know exactly what goes into it, so you can make it as pure and natural as you want.
The Science Behind Caramelization
Caramelization might sound like a fancy culinary term, but it’s really just science in action. Let’s break it down and understand how it works because when you understand the process, you’re much more likely to succeed at making perfect caramel.
How Caramel is Made: A Simple Chemical Process
When you heat sugar, it begins to melt and break down into simpler molecules. The heat causes the sugar to undergo a Maillard reaction, which is what gives caramel its distinctive golden color and deep, rich flavor. The longer you cook the sugar, the darker it gets, and the more complex the flavor becomes.
As the sugar melts, it will also start to form new chemical compounds, contributing to the signature “caramel” flavor that we all know and love. The addition of butter and cream makes the caramel smooth and luscious, creating a decadent consistency that’s perfect for pouring over desserts or using in recipes.
Key Ingredients in Caramel and Their Role
Let’s take a closer look at the key ingredients in caramel and what they do:
- Sugar: The star of the show. Granulated white sugar is commonly used, but you can experiment with brown sugar for a deeper, molasses-like flavor.
- Butter: This adds richness and depth to the flavor, making the caramel smooth and velvety. You can use unsalted butter to control the saltiness.
- Cream: Once you add cream to the hot sugar mixture, it cools down the sugar, helping it to firm up into a smooth, pourable consistency. It also makes the caramel extra creamy and indulgent.
- Salt (optional): A pinch of salt balances out the sweetness and enhances the caramel’s flavor. It’s a small detail, but it makes a big difference!
Step-by-Step Guide to Making Homemade Caramel
Now that we’ve covered the basics, it’s time to get into the fun part: making your own homemade caramel! Here’s a simple, foolproof method to make caramel from scratch, with detailed steps and tips to ensure it comes out perfect every time.
Ingredients You’ll Need
Before you start, gather your ingredients:
- 1 cup of granulated sugar
- 6 tablespoons of unsalted butter
- 1/2 cup of heavy cream
- 1/4 teaspoon of salt (optional, but recommended for balance)
These quantities will make about 1 cup of caramel, enough for a generous topping for a few desserts or to drizzle over your favorite snacks.
Essential Equipment for Perfect Caramel
You don’t need a lot of fancy tools, but here’s what you’ll need:
- A heavy-bottomed saucepan: This helps ensure the heat is distributed evenly.
- A wooden spoon or heatproof spatula: You’ll need something sturdy to stir the caramel and prevent the sugar from crystallizing.
- A candy thermometer (optional but helpful): If you want to be precise, a thermometer will help you know exactly when the caramel reaches the perfect temperature.

Preparing the Sugar
Start by placing the 1 cup of granulated sugar into the saucepan over medium heat. Stir the sugar constantly as it begins to melt. At first, it will start to clump together, but don’t worry! Just keep stirring, and it will gradually melt into a smooth liquid.
Once the sugar has completely melted and turned into a light amber color, you’re ready to move on to the next step. Be patient this part of the process takes some time, but it’s crucial to let the sugar fully melt to prevent burning.
Melting the Sugar and Adding Butter
As soon as the sugar has melted, carefully add the 6 tablespoons of unsalted butter. The butter will bubble up, so be cautious, but keep stirring to help it blend into the sugar. The mixture should start to smooth out and thicken.
The butter adds richness and helps the caramel come together. Stir until the butter is completely melted and incorporated into the sugar.
Chocolate Chip Pecan Cookies Recipe: Explore a delightful recipe that combines the richness of chocolate with the crunch of toasted pecans. This could be a great way to utilize your homemade caramel as a topping or filling.
Common Problems with Homemade Caramel
Making homemade caramel can be tricky if you’re not familiar with the process, and there are a few common problems people run into. But don’t worry these issues are easily fixable once you know what to look out for!
Caramel Is Too Hard or Too Soft
One of the most common issues is the texture of the caramel. If your caramel is too hard, you may have overcooked it. The sugar might have reached a higher temperature than needed. If it’s too soft, you may not have cooked it long enough. The ideal caramel texture should be smooth and pourable, but it should firm up slightly as it cools.
The trick? Make sure you use a thermometer, or keep an eye on the color. Once your caramel reaches a deep amber color, it’s ready!
Sugar Crystallization Issues
Sometimes, sugar can crystallize during the melting process, forming hard clumps in your caramel. This happens when the sugar is disturbed too much or if there’s any moisture in the pan. To avoid this, make sure you don’t stir too aggressively. If you notice crystals forming, you can gently swirl the pan instead of stirring.
Tips for Perfecting Homemade Caramel
Making homemade caramel might sound intimidating, but once you get the hang of it, it’s actually quite simple. To help you achieve the perfect caramel every time, here are a few expert tips and tricks.
Stirring vs. Not Stirring: What’s Best?
When it comes to making caramel, one of the most debated topics is whether to stir or not stir the sugar as it melts. Some people say it’s important to stir constantly to prevent burning, while others recommend leaving the sugar alone to let it melt undisturbed.
Here’s the deal: Stirring is only necessary when the sugar starts to melt and clump together. Once the sugar starts to liquefy, it’s best to avoid stirring because stirring can cause the sugar to crystallize. If you need to adjust the mixture, gently swirl the pan instead.
So, the key is: stir at the beginning to help the sugar melt, then don’t stir once it becomes liquid. It’s all about patience!
How to Avoid Burning Your Caramel
Burnt caramel is probably one of the biggest fears when making this treat, and for good reason it can be difficult to fix! But the trick to avoiding burnt caramel is twofold:
- Control the heat: Keep your heat medium or medium-low. If it’s too high, the sugar will burn before it has a chance to fully melt and caramelize.
- Use a thermometer: If you’re unsure about the temperature, use a candy thermometer. The ideal temperature for caramel is around 340°F (170°C), right before it turns golden amber.
By maintaining moderate heat and monitoring the temperature closely, you’ll avoid that bitter, burnt taste that ruins the sweetness of caramel.
Adjusting for Different Caramel Textures
The texture of your caramel depends on the cooking time and temperature. If you want thicker caramel for dipping or spreading, you’ll need to cook the caramel a bit longer to reduce the moisture content. For a thinner, more pourable caramel (like for drizzling over ice cream), pull the caramel off the heat sooner.
If your caramel ends up being a bit too thick, you can always thin it out with a splash of heavy cream or milk once it has cooled down.

Flavors and Variations of Homemade Caramel
Caramel is delicious on its own, but you can take it to the next level by adding extra flavors and ingredients. Here are a few creative variations to try.
Classic Sweet Caramel
This is your standard caramel the one you use for drizzling over desserts, mixing into coffee, or enjoying straight from the spoon. It’s simple, smooth, and perfect for adding to almost anything. To make classic caramel, follow the basic steps: sugar, butter, cream, and a pinch of salt.
Sea Salt Caramel: A Sweet and Salty Delight
If you haven’t tried sea salt caramel, you’re missing out! The salty flavor balances out the sweetness of the caramel, making it irresistible. To make sea salt caramel, just sprinkle a small amount of sea salt into the caramel after it’s done cooking. You’ll be amazed at how the salt enhances the flavor and adds a sophisticated twist to the sweetness.
For an even more luxurious treat, you can garnish your caramel dessert with flaky sea salt for an extra burst of flavor.
Vanilla Caramel for Extra Flavor
Vanilla adds a warm, aromatic touch to caramel, making it extra special. To make vanilla caramel, simply add vanilla extract to your caramel mixture once it’s off the heat. Just a teaspoon is enough to make a noticeable difference and elevate the flavor.
Chocolate Caramel Swirl
For all the chocolate lovers out there, adding chocolate to your caramel is a match made in heaven. Chocolate caramel swirl is simple to make just melt your favorite chocolate (dark, milk, or white) and swirl it into the finished caramel. This creates a beautiful, marbled effect and adds a rich chocolate flavor to your caramel sauce.
Uses for Homemade Caramel
Once you’ve made your homemade caramel, the possibilities are endless! Whether you want to drizzle it over desserts, add it to your coffee, or enjoy it by itself, caramel is one of the most versatile ingredients in the kitchen.
Caramel Sauce for Ice Cream and Desserts
The most obvious use for homemade caramel is as a topping for ice cream. That warm, gooey caramel drizzled over a scoop of cold vanilla ice cream? Pure heaven. But it doesn’t stop there caramel is great on cakes, pies, and puddings too. You can even pour it over roasted fruits for a quick and delicious dessert.
Using Caramel in Baking: Cakes and Pastries
Caramel can be incorporated directly into baked goods to enhance their flavor. For example, adding caramel to cakes or cupcakes gives them a rich, moist texture and a deep sweetness. You can also use caramel as a filling for pastries or drizzle it on top of apple tarts and cheesecakes for a stunning presentation.
Making Caramel Candies: A Sweet Treat
For a fun twist, you can make your own caramel candies! All you need to do is cook your caramel to a slightly firmer stage, pour it into a pan, and let it cool. Once it’s firm, cut it into squares, wrap them in wax paper, and enjoy homemade caramel candies that rival any store-bought version.
How to Store and Preserve Homemade Caramel
Homemade caramel is too good to waste, so let’s talk about how to store it properly for future use.
Storing Caramel for Later Use
Caramel can be stored in an airtight container at room temperature for up to one week. If you’ve made a big batch and want to save some for later, store the caramel in the fridge for longer shelf life. Just be sure to let it come to room temperature before using it again, as it will solidify in the fridge.
Freezing Caramel for Long-Term Storage
If you’ve made a large batch and want to freeze some for later, it’s possible! Freeze the caramel in small portions in a freezer-safe container or bag. When you’re ready to use it, let it thaw in the fridge overnight. Keep in mind that freezing may affect the texture slightly, but the caramel will still be delicious.
Healthier Alternatives to Traditional Caramel
While caramel is undeniably delicious, it’s also packed with sugar and butter, which can be a concern for those looking to make healthier choices. Fortunately, there are ways to tweak your caramel recipe to make it a bit healthier while still maintaining that irresistible flavor.
Using Coconut Sugar or Honey for a Healthier Caramel
If you want to reduce the glycemic impact of your caramel, consider swapping regular granulated sugar for coconut sugar or honey. Coconut sugar has a lower glycemic index, meaning it won’t spike your blood sugar as quickly as regular sugar. It also adds a slight caramel-like flavor that complements your caramel perfectly.
Honey can also be used in place of sugar, although it will lend a slightly different flavor. It’s naturally sweeter than sugar, so you might need to use less. Keep in mind that using honey might make your caramel a little thinner, so be prepared to adjust the consistency by simmering it a bit longer.
Dairy-Free and Vegan Caramel Options
For those following a dairy-free or vegan diet, you can still enjoy homemade caramel! Instead of butter and heavy cream, try using coconut oil or vegan butter along with coconut milk or almond milk. These plant-based alternatives will give you the creamy consistency you love, without any dairy.
The process for making vegan caramel is the same as with traditional caramel, so you won’t have to worry about changing the technique just swap the ingredients for vegan-friendly options, and you’ll have a dairy-free caramel that’s just as delicious.
While caramel is a sweet indulgence, it’s important to be aware of its nutritional aspects. Caramel provides quick energy due to its high sugar content, but excessive consumption can lead to health issues. For a detailed overview, refer to this article
Why Homemade Caramel is Worth the Effort
Making homemade caramel is a true labor of love, but the results are so worth it. There’s nothing quite like the rich, buttery taste of freshly made caramel whether you’re drizzling it over a bowl of ice cream, using it in baked goods, or just enjoying it on its own.
Homemade caramel is not only a treat but also a customizable experience. You can adjust the flavors, textures, and ingredients to suit your taste preferences or dietary needs. Plus, you can experiment with different variations to keep things exciting!
What makes homemade caramel even more special is the fact that you have complete control over the ingredients. No preservatives, no artificial flavorings just pure, simple ingredients that come together to create something magical.
So, the next time you’re craving something sweet, skip the store-bought versions and try making your own caramel at home. It’s easier than you think, and the results are absolutely delicious.
Frequently Asked Questions
How do I make caramel without burning it?
To prevent burning your caramel, keep the heat at medium or medium-low and use a candy thermometer to track the temperature. Ideally, caramel should be cooked to 340°F (170°C) for the perfect golden color and texture. Stir gently at the beginning, but avoid stirring once the sugar is fully melted.
Can I make caramel without cream?
Yes! If you prefer to make caramel without cream, you can substitute it with milk or coconut milk for a slightly lighter version. However, keep in mind that the texture may be a bit less rich, and you might need to adjust the cooking time to get the desired consistency.
How long does homemade caramel last?
Homemade caramel can last up to one week at room temperature when stored in an airtight container. If you store it in the fridge, it can last up to two weeks. For longer storage, caramel can be frozen for 3 months.
Can I use a different sugar for caramel?
Yes, you can experiment with different sugars! For a more complex flavor, try using brown sugar for a richer, molasses-like taste. You can also use coconut sugar or maple sugar for a lower glycemic index option.
What can I do with leftover caramel?
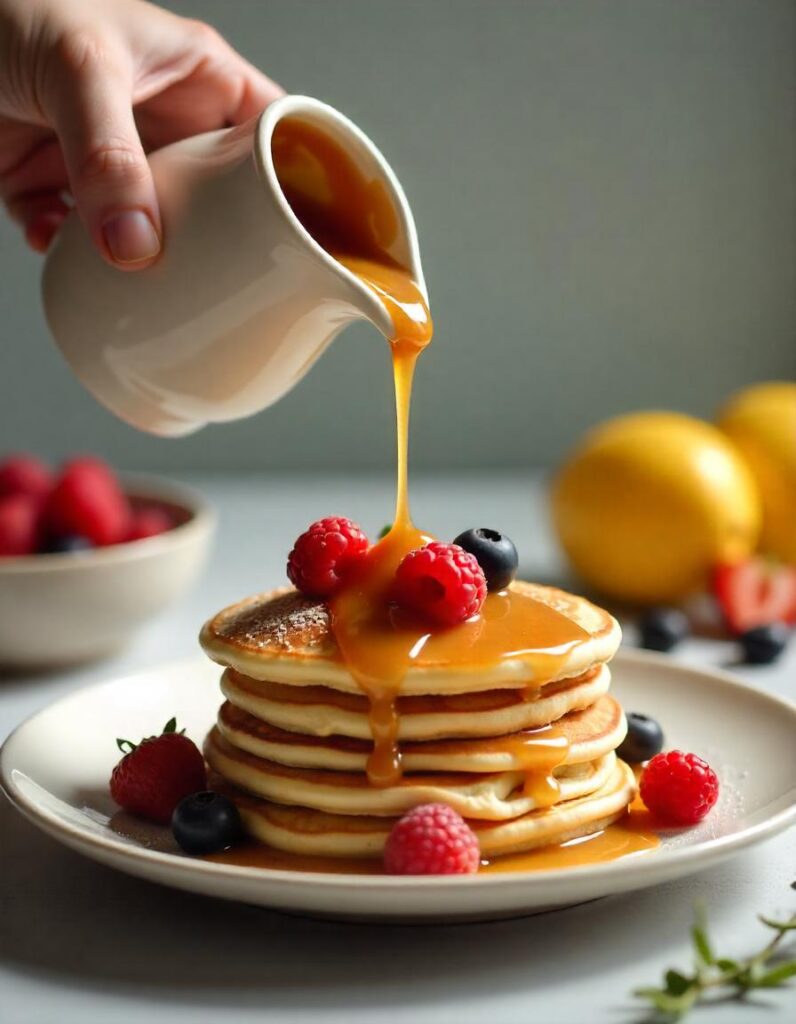
Leftover caramel doesn’t have to go to waste! You can drizzle it over pancakes, waffles, or roasted fruits. It’s also great for making caramel popcorn, adding to baked goods, or stirring into hot beverages like coffee or hot chocolate.

